Create a ring using the brick stitch technique. By placing the beads in a staggered pattern, you create a beautiful brick-like design that is perfect for colourful creations.
What do you need:
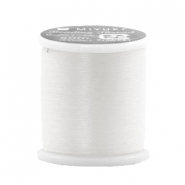
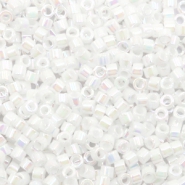
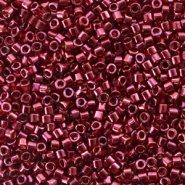
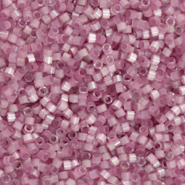
· Miyuki beads
· Miyuki beading thread
· Flexible needle
· Scissors
00:08 Preparation
Cut a piece of beading thread approximately 80 cm long.
Thread the needle.
Attach a stop bead to the end of the thread or leave enough thread to finish your work later.
00:19 Step 1 – Create the first row
Thread: 1 white bead, 1 red bead, 4 pink beads, 1 red bead and 1 white bead.
Slide the beads down the thread.
This forms the first row of the ring.
00:25 Step 2 – Create the second row
Thread 1 white Miyuki bead onto the needle.
Pass the needle underneath the thread between the 1st and 2nd bead of the first row.
Then pass the needle back through the bead you just added.
Thread another bead, then pass the needle under the next thread between two beads of the first row.
Pass back through the new bead.
Repeat these steps until the entire row is complete.
You will now see the beads arranged in a staggered pattern, creating the brick-stitch effect.
00:42 Step 3 – Turn your work
Turn the beadwork around so you can start the next row.
00:46 Step 4 – Create a new row
Thread 1 white Miyuki bead onto the needle.
Pass the needle underneath the first thread of the previous row.
Then pass back through the bead.
Thread a new bead and secure it underneath the next thread.
Repeat these steps until the row is complete.
Repeat Step 3 and Step 4 until the ring fits comfortably around your finger.
01:40 Steps 5 and 6 – Close the ring
Place the ends of the beadwork against each other.
Use the needle and thread to connect the outer beads on both ends.
Pass the thread back and forth several times for extra strength.
Weave the thread through several beads to secure it.
Tie a knot if desired and trim the thread.
Create a colourful Miyuki ring and let your creativity shine!